

SSL certificate for an Azure App Services
In a previous article, I showed you how to create a free SSL certificate via Lets’Encrypt.
The main (or only) problem with Let’s Encrypt is that the certificate has a lifetime of maximum 3 months. This means that you have to renew and install it manually or automatically very regularly.
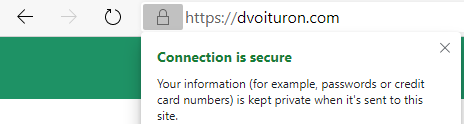
To avoid this it is necessary to purchase a SSL certificate with an expiration date of up to several years.
Several steps are required to create and install an SSL Certificate in Azure.
1. Create a CSR
A Certificate Signing Request (CSR), is a message containing all the data required to apply for a digital identity certificate. Several tools exist to make this message, but, under Windows, the easiest is to use the free tool DigiCertUtil.exe.
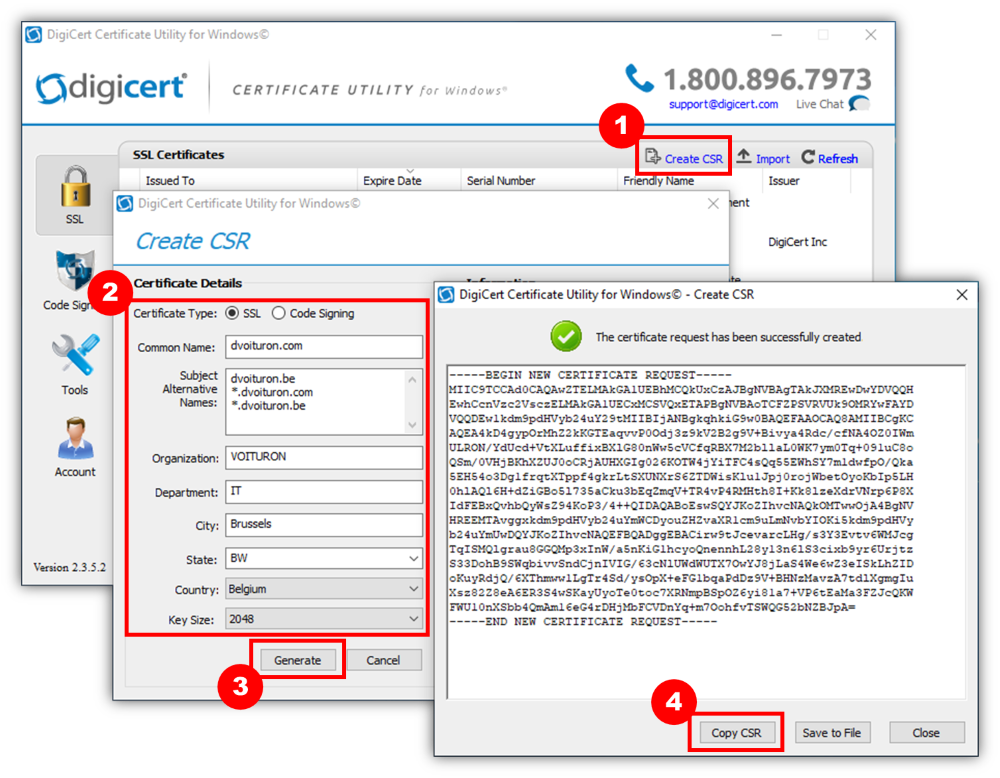
Be sure to specify all domains and subdomains that you want to certify. Note that the certificate price usually depends on the number of subdomains. The use of an asterisk indicates that you can set an unlimited number of subdomains (the price is obviously higher).
2. Apply for approval of the certificate
For this, a certifying authority such as Verisign, Globalsign or Digicert should be chosen. I chose Digicert.
After creating an account, import (paste) the CSR message and complete a contact screen.
3. Verification of your identity
You have to prove that you are the owner of the domain names that are controlled. Depending on the certifying authority, the verification technique can vary: email, phone, file on the server, access to DNS.
The simplest is often the latter method where you just have to create a TXT record with a predefined identifier, in the DNS records of the domain name.
Example:
@ 1800  IN A   32.216.219.89
@ 10800 IN TXT "fk1234wjk4hsjlh0y3v30ntwwbxtw41b"
Once the TXT record has been created for all my domain names, I press the Check button. to initiate the request for approval.
A few seconds later, I can download the certificate approved by this authority. (for example, in p7b format).
4. Export to PFX format
Azure supports a certificate in PFX format, which is rarely a format offered directly by the certifier. The utility DigiCertUtil.exe will help us to convert it again:
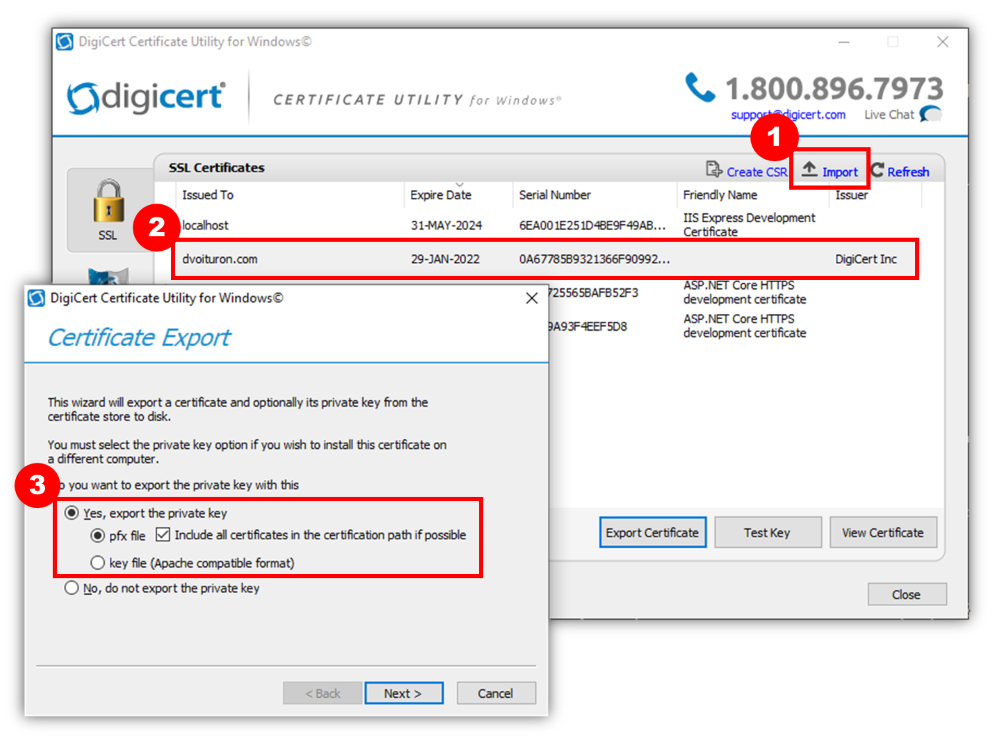
When exporting to PFX format, you will need to provide a password.
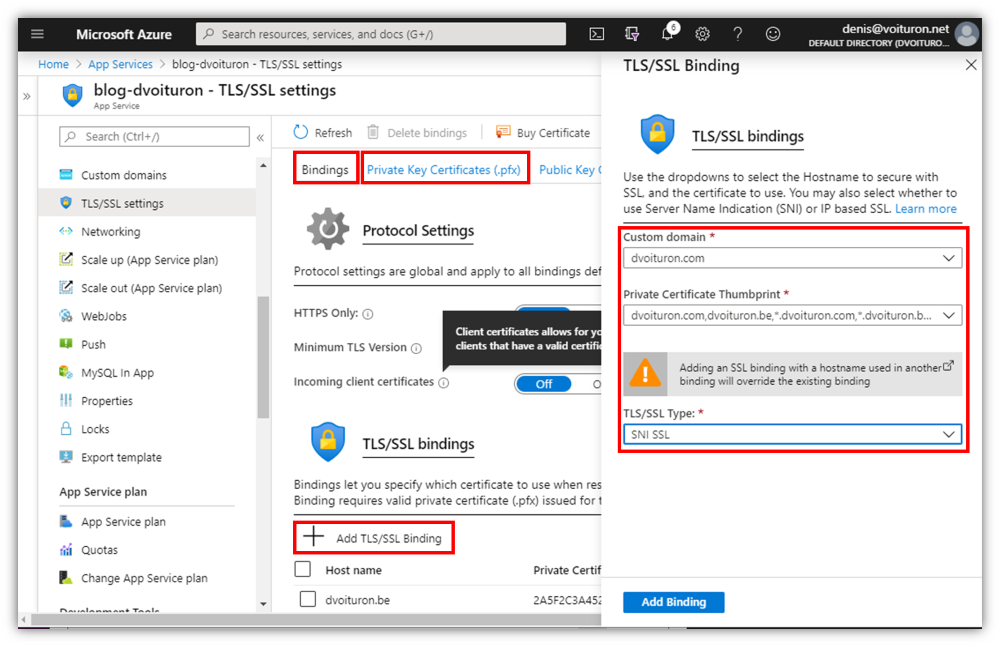
5. Installing the certificate in Azure
Finally, you can import this PFX file into the Azure portal.
- Go to your Web App Service configurations, in the TLS/SSL settings section.
- Via the Private Key Certificates tab, press the Upload Certificate button.
- Once the certificate is loaded into Azure, return to the Bindings tab.
- Press the Add TLS/SSL Binding button and select your domain and certificate. The TLS/SSL type must be set to *SNI SSL.
That’s all